Preparation, Required tools and material, Prior to installation – Livarno 2764-062L or 2788-068L or 2787-062L Benutzerhandbuch
Seite 16: Start-up, Mounting the light
16 GB
Start-up
Safety / Preparation / Prior to installation / Start-up
Replace defective bulbs with new ones immedi-
ately. Before changing bulbs, always first re-
move the fuse or switch off the circuit breaker.
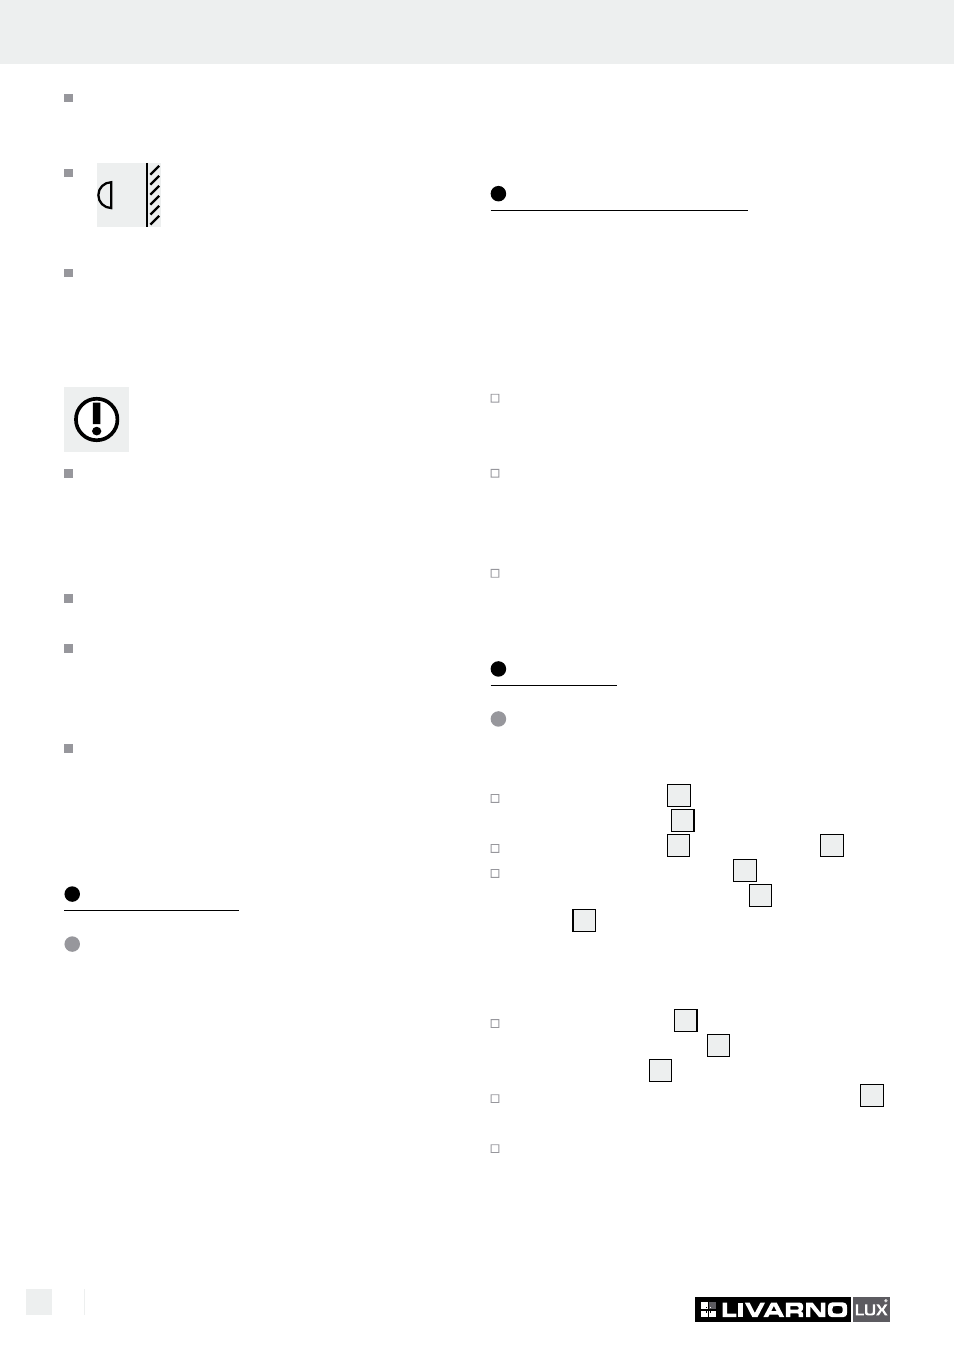
0.5 m
FIRE HAZARD! Fit the light so that
it is at least 0.5 m away from the
material to be illuminated. Excessive
heat can result in a fire.
Do not leave the light or packaging material
lying unattended. Plastic film or bags, plastic
parts, etc. can be dangerous for children to
play with.
Safe working
Only use 220–240 V∼ LED lamps with an
E14 socket and a maximum power of 5,5 W
(2788-068L und 2787-062L) or LED lamp
GU 10 with a maximum power of 5 W
(2787-062L).
Mount the light so that it is protected from
moisture and dirt.
Carefully prepare for assembly and allow your-
self adequate time. Organise all parts and any
necessary additional tools or materials before
starting so they are easy to reach.
Always be attentive! Always pay attention to
what you are doing and use common sense.
Never install the light if you are having diffi-
culty concentrating or do not feel well.
Preparation
Required tools and material
The tools and materials specified are not included.
This information and these values are non-binding
and are only provided as a reference.
The nature of the material is determined by the
individual local conditions.
- Pencil / making tool
- Voltage tester
- Screwdriver
- Electric drill
- Bit (ø approx. 0.6 cm)
- Side cutting pliers
- Ladder
Prior to installation
Important: The electrical connection must be
established by a qualified electrician or a person
trained to perform electrical installations. This per-
son must be familiar with the properties of the light
and the connection regulations.
Familiarise yourself with all the instructions and
diagrams in this manual, as well as with the light
itself, before you install it.
Before installation ensure that the circuit, to which
the light will be connected, is not energised. To
do so, remove the fuse or switch off the circuit
breaker in the fuse box (0 position).
Use the voltage tester to verify the de-energised
status.
Start-up
Mounting the light
Model 2787-062L
Secure the spacer
19
to the light using the
designated screws
25
.
Place the washers
20
over the spacer
19
.
Now place the glass plate
24
over the bracket
and secure using the washer
21
and locating
screw
22
.
Model 2764-062L and 2788-068L and
2787-062L
Remove the screws
11
visible at the side of
the connection housing
4
and remove the
mounting angle
2
from the back.
Use the slotted holes in the mounting bracket
2
intended for the screws to mark the bores.
Now drill the fixing holes (approx. 6 mm,
depth approx. 40 mm). Be careful not to
damage the supply line.